This article will explain using the Filters in OBS Studio to manipulate the colors of overlays in our Marketplace Packages.
By using filters in Streamlabs/OBS, you can apply a color correction and adjust the hue to get interesting results. So here's a quick overview of how to access and apply a color correction filter!
Adding a Filter:
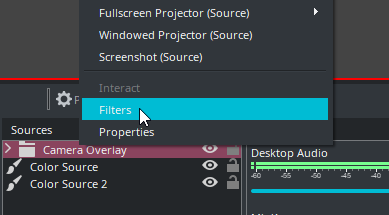
We'll start by right-clicking the source and choosing "Filters."
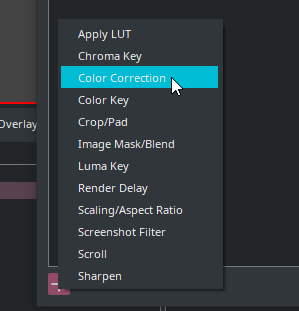
In the new window that pops up, click the "+" button to start adding a new filter, then select "Colour Correction."
As you can see, there are also other filters that you can experiment with here.
Filter Settings:
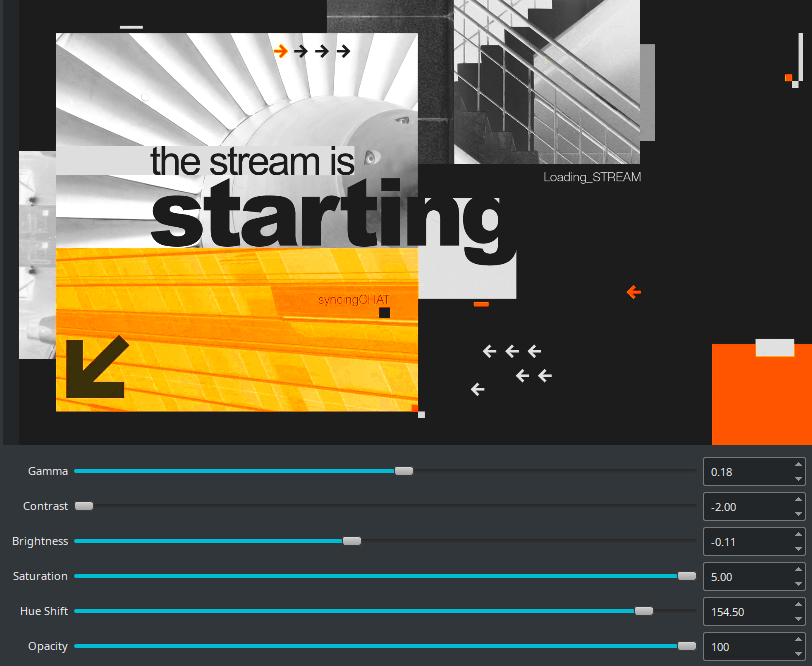
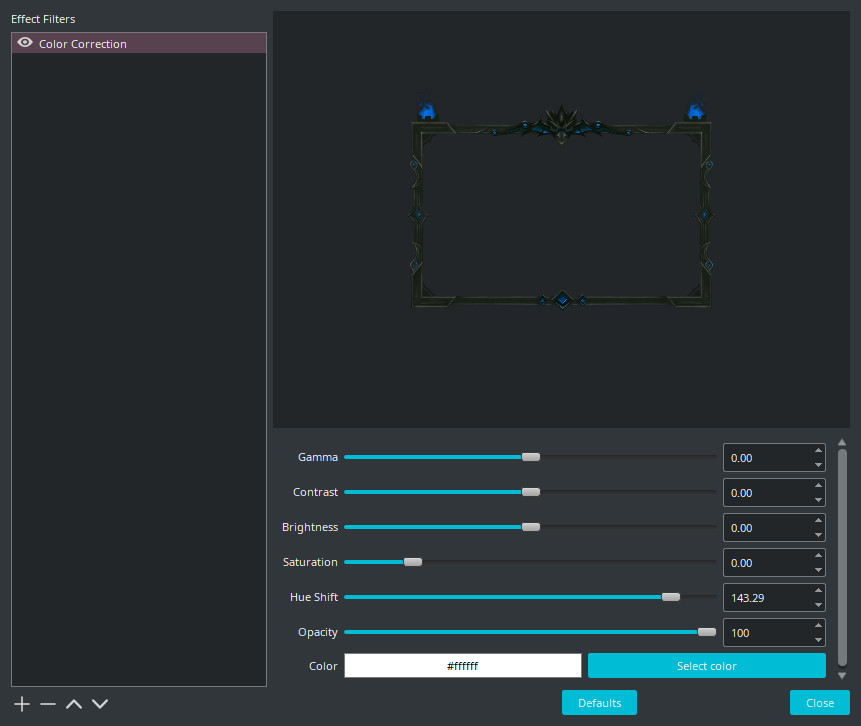
Now you can edit the color correction with various sliders to tweak the look! You usually want to focus on "hue-shift," which changes the colors differently based on their original value.
Changing contrast and saturation will be used for packages the most, but in some cases where you want to increase the brightness and contrast, lowering the gamma can be helpful to balance out it looking "washed out."
If you want to start over, you can change the filter settings by clicking the "defaults" button at the bottom of the window. This will reset the filter not to have any difference from the original source.
Once you're done, close the window, or remove the filter if you change your mind. Using the "-" button will allow you to apply the same filter to other elements:
Right-click first source - copy filters - right-click new source - paste filters
Conclusion & more use cases:
Using a filter like this is especially useful for packages such as Archetype
Or System Override, which is both monochrome. And can be applied to a browser/widget source to adjust your alerts etc.!
Shown here just going one way for the hue of Archetype
By lowering the contrast, you can invert the dark and light elements to create a dark version of an otherwise light package! From there, you could adjust the gamma and brightness and increase the saturation.
The same image from Archetype with additional filter settings changed.