This article will explain how to add overlays into Streamlabs Desktop in our Marketplace Packages.
The Editor Tab
Open Streamlabs Desktop. If you don't have it, head to their website to download it now. Once you run and open the software, this screen will appear.
Make sure you go to the Editor in the top tray, once there, Create a Scene (collection of sources for changing Scenes when live).
In the Sources box, once you have a few different sources created, you can hold control and click a few sources and click on the folder icon, and it'll add it into one group, which helps order things like webcam sources or text sources under one scene.
Adding a Source
Click on the "+" icon to add a source. A source can be a wide variety of things, for adding overlays, browser sources & so much more.
Click the source you'd like to add once done click "Add source" in the bottom right. I'd suggest when it pops up label it appropriately so you can easily navigate in the future if required. In this example, we'll add a "Media File".

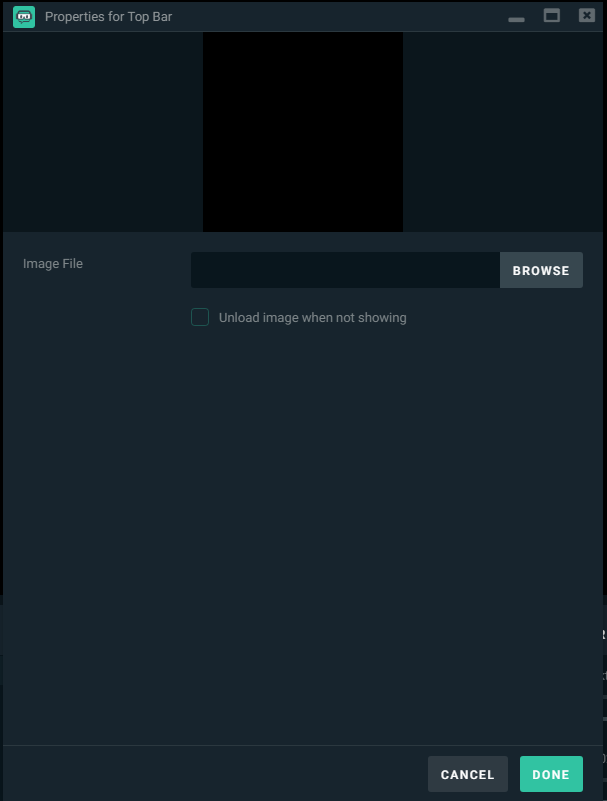
Here you will select Browse to find the file in your PC's File Explorer. Select the image you want to add, then click Done.
Adjusting Your Image
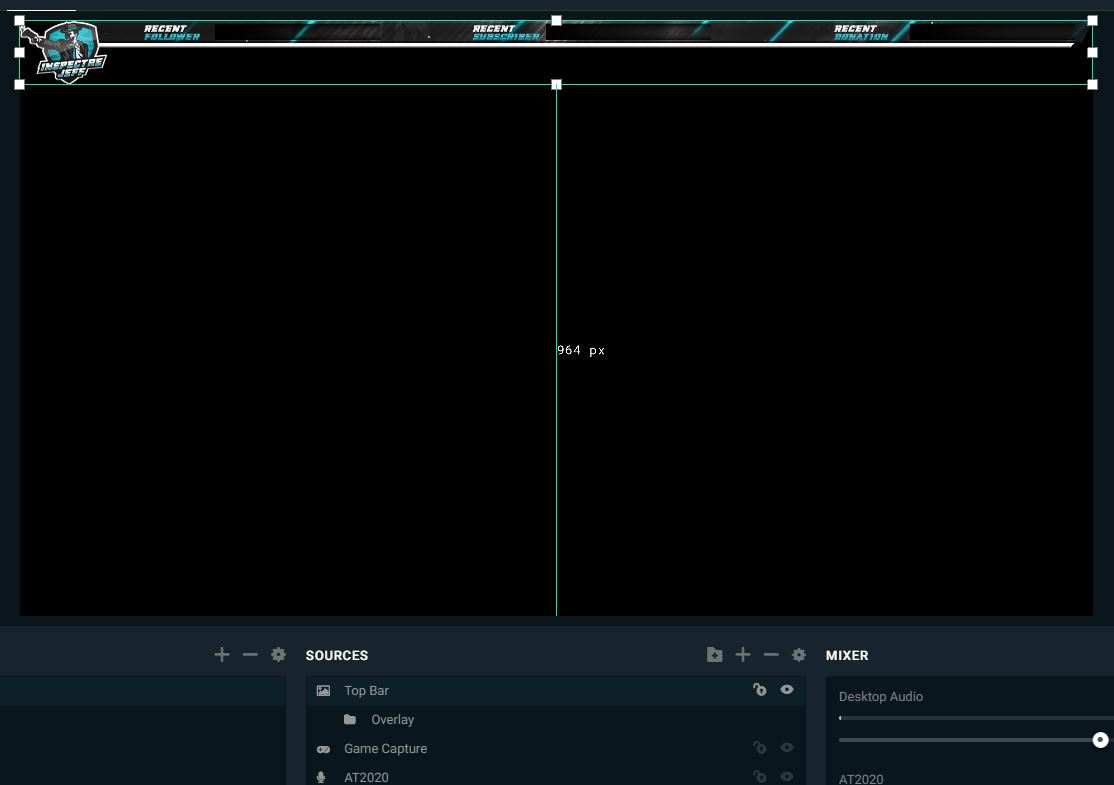
Now the image will be added to the broadcast preview.

You can click on the grey boxes surrounding the image to increase/decrease the size of the image. Additionally, click anywhere on the image space to drag it to your preferred location (a hand cursor will signify you can drag a source).
Depending on how many overlays you have, repeat the above steps until you are satisfied.