Elgato Game Capture HD for Mac and Windows includes Live Streaming functionality.
You can stream to services like:
Twitch
YouTube
Ustream
Restream.io
Facebook
RTMP
This article will cover how to stream to Twitch.tv. Streaming to other services is identical, save for the initial login process.
For Facebook and YouTube, please see these articles:
Facebook Streaming and Elgato Game Capture HD
YouTube Live Streaming and Elgato Game Capture HD
The interface for Elgato Game Capture HD 2.5.2 for macOS is shown below, but the interface for Elgato Game Capture HD 3.5 for Windows is extremely similar.
Twitch - Sign up and Login
Elgato Game Capture HD now has a Live Streaming section. When you first start the software, Live Streaming is not yet setup.
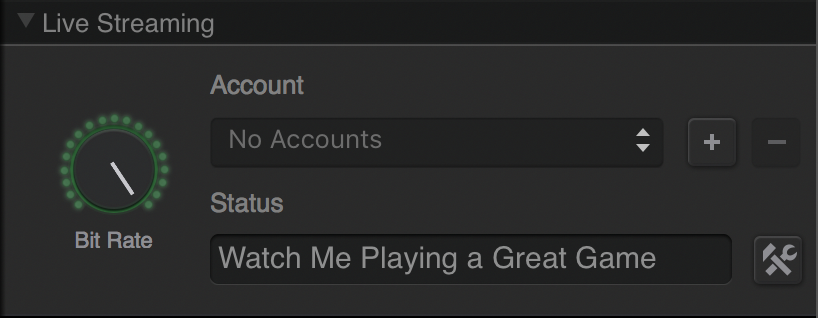
To use Live Streaming, you will first have to create a new Twitch account, or enter your existing Twitch account. To start that process, press the "+" button next to the Account option.
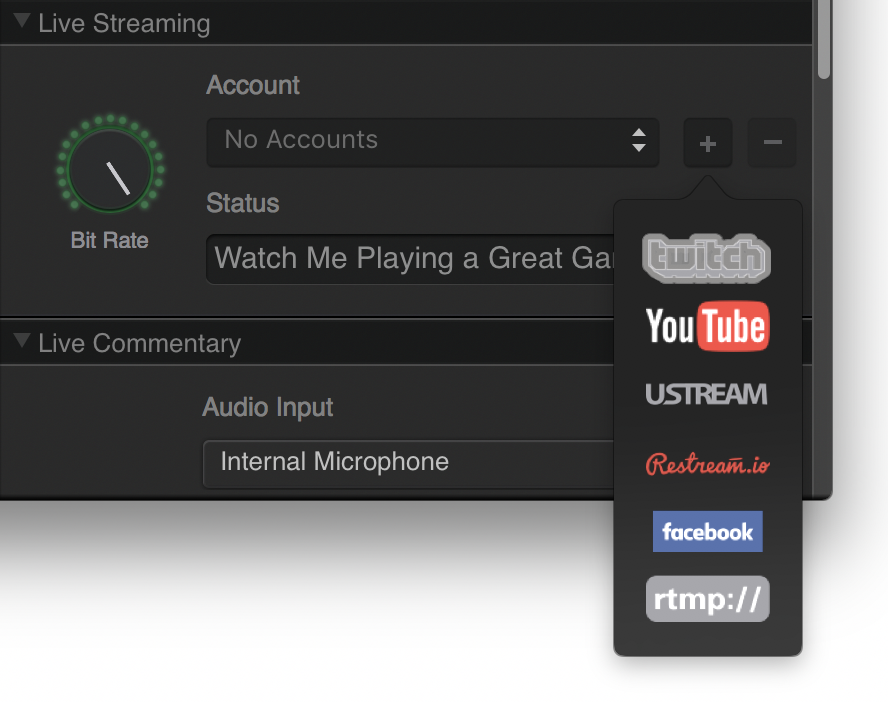
Choose Twitch from the list of services.
A window will appear, allowing you to Log In to your Twitch account.
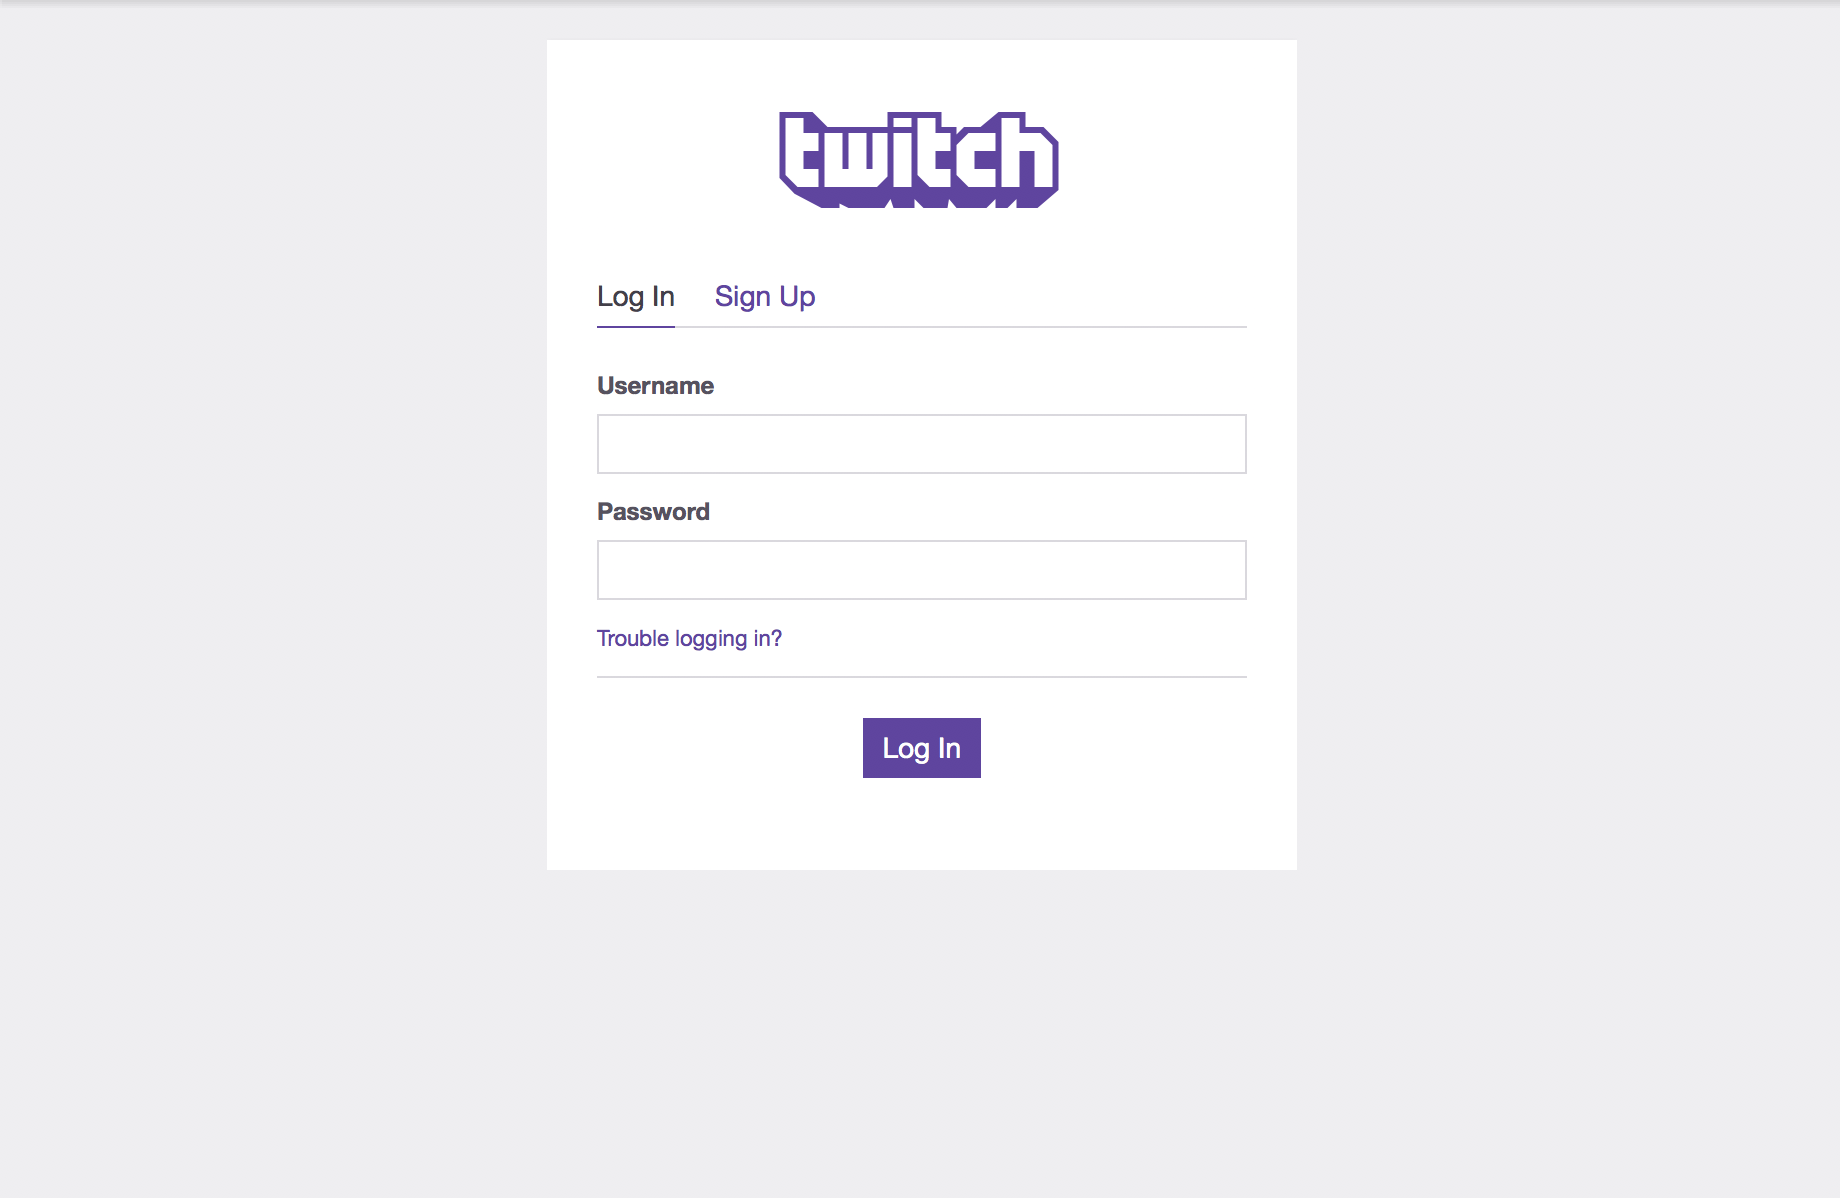
If you already have a Twitch account, then enter your Username and Password.
Afterwards, you will be given a chance to Authorize Game Capture HD to use your account. Press the purple Authorize button to continue.
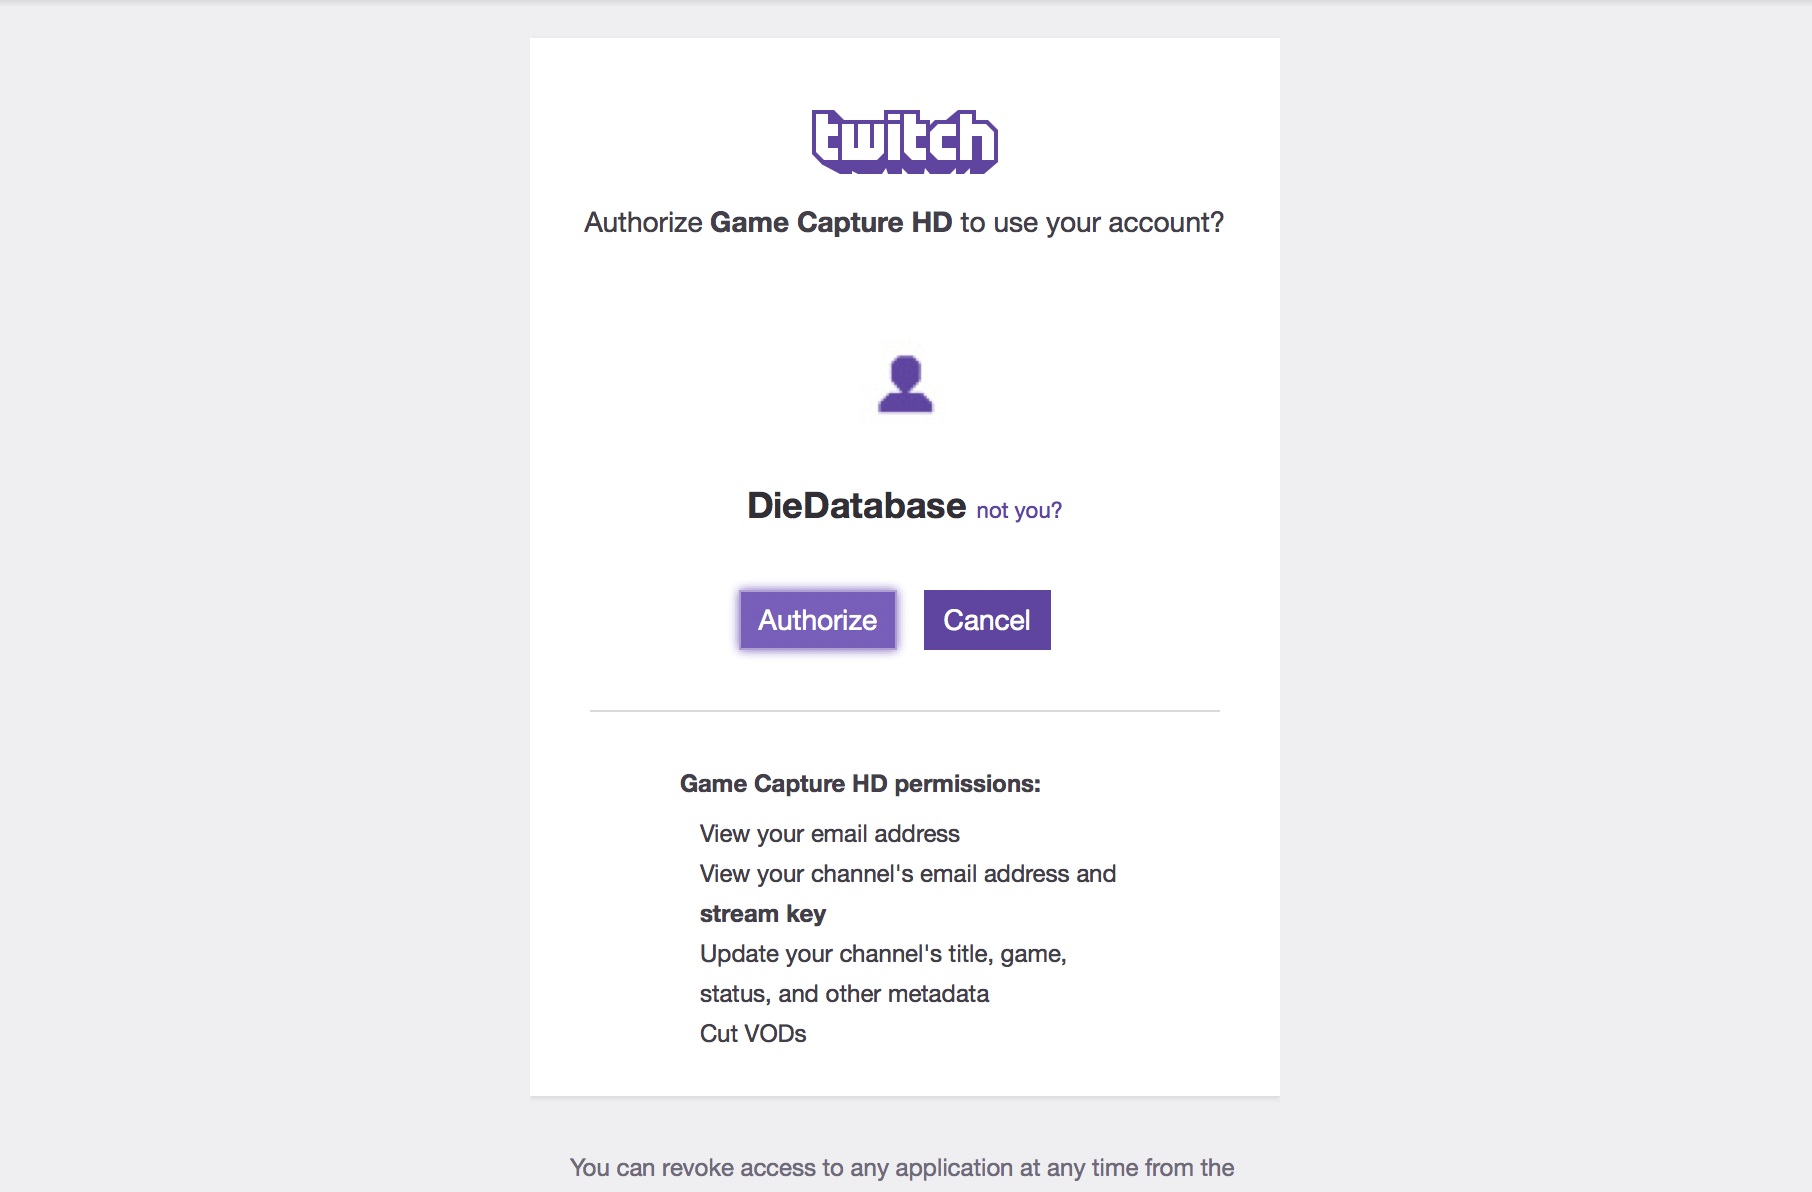
If you do not already have a Twitch account, then press the Sign Up tab. You will then be able to select your Username and Password.
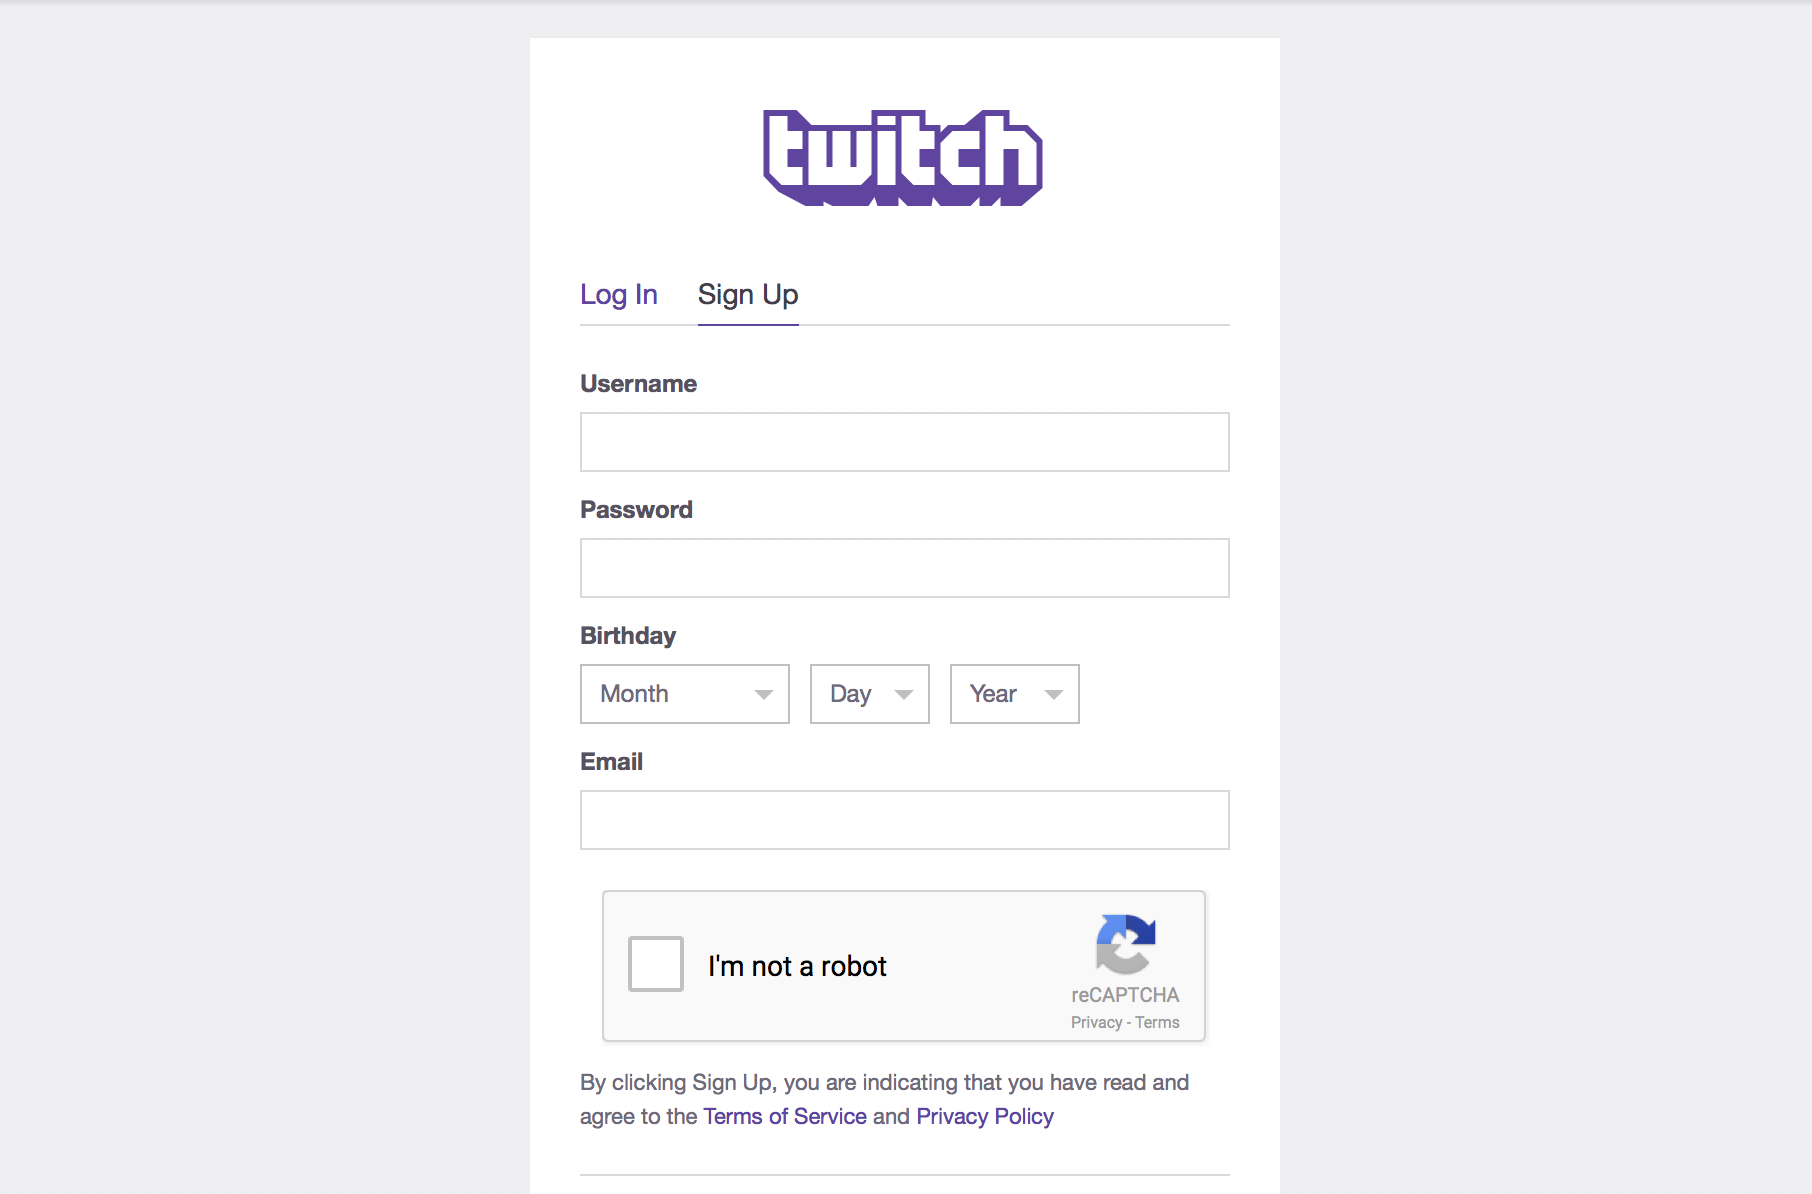
After signing up for a new Twitch account, you will be given a chance again to Authorize Game Capture HD to use your account. Press the purple Authorize button to continue.

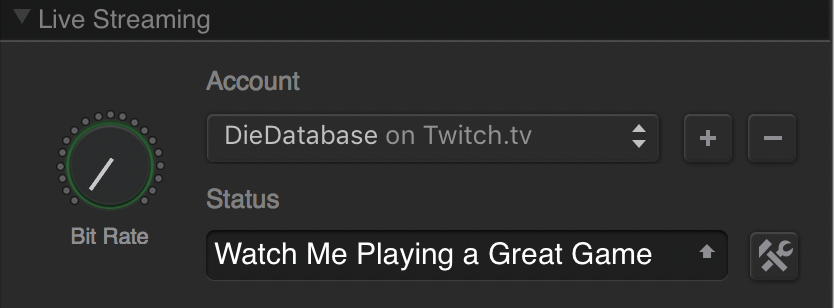
Once you are logged in and authorized, your Twitch account will appear in the Live Streaming section of Elgato Game Capture HD.
Twitch - Server Selection
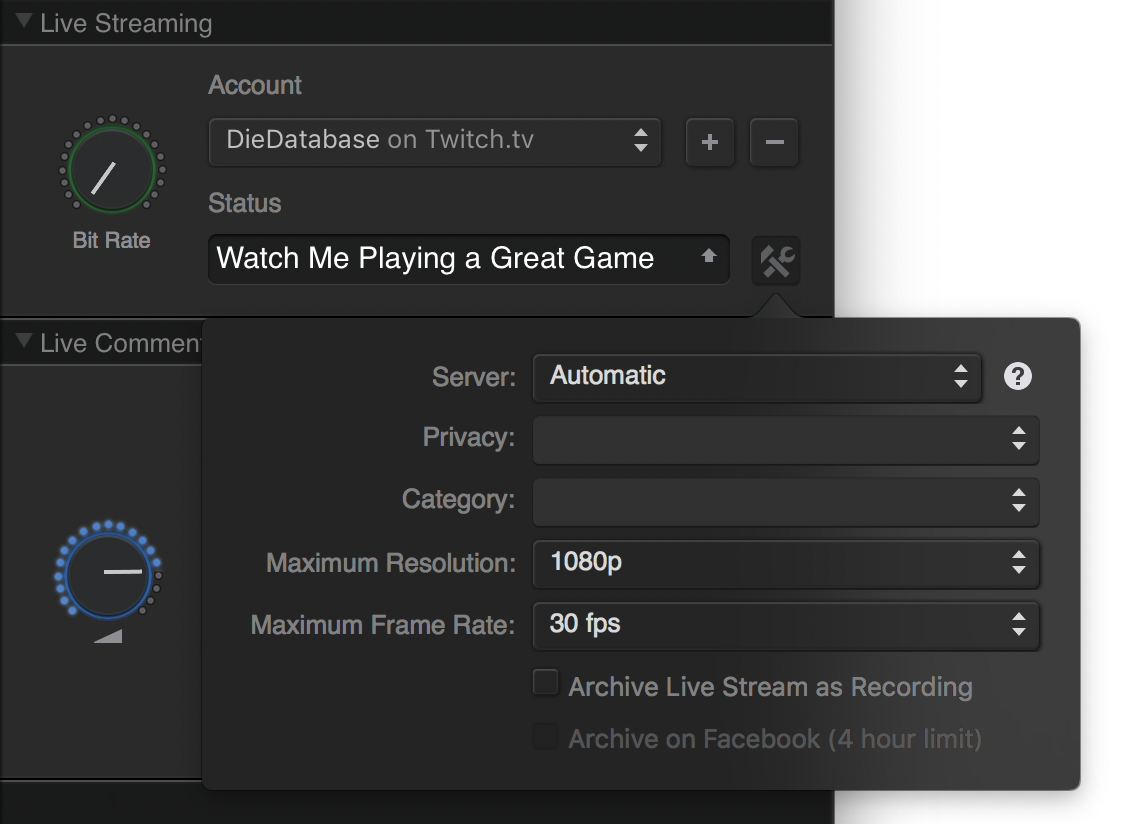
Once your Twitch account is entered into Elgato Game Capture HD, you will need to select a nearby server. Press the button on the bottom right part of the Live Streaming section to show the Settings.
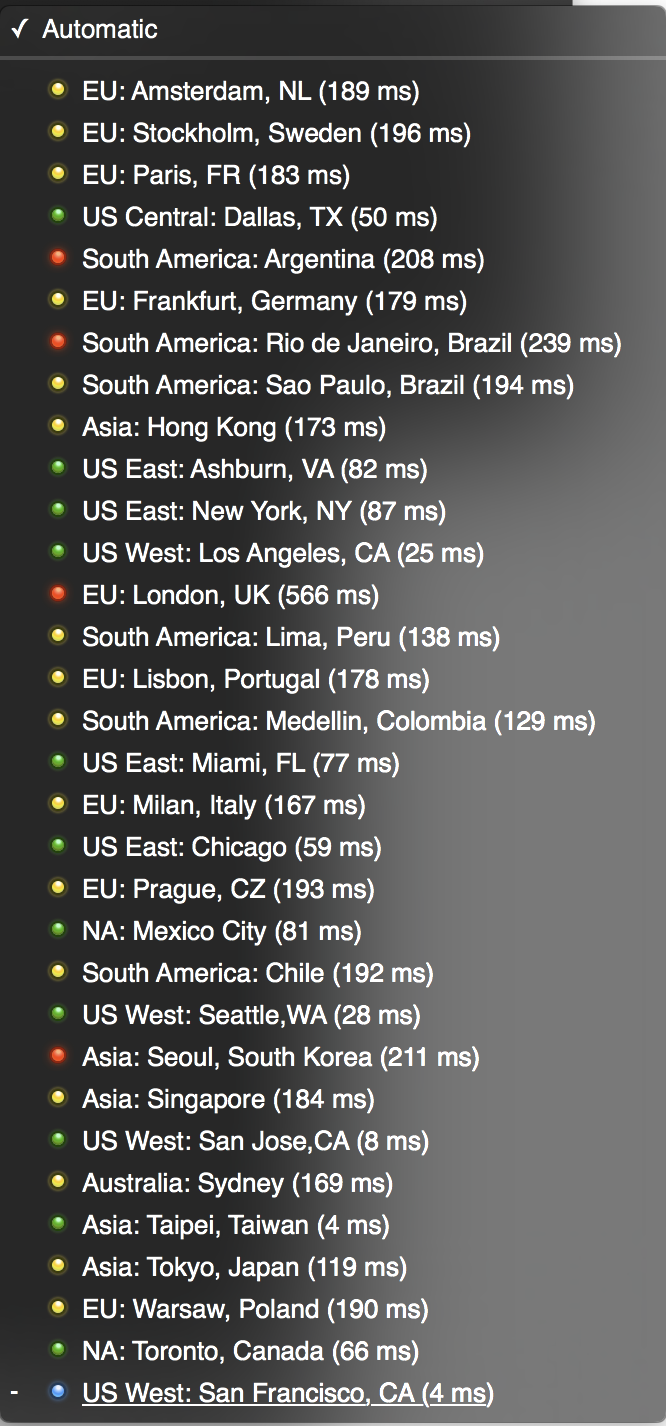
You should pick a server that has the lowest network latency possible. The latency numbers will change every so often. Usually, the server with the lowest latency is closest to you geographically, but not always.
Twitch - Stream Bit Rate and Available Bandwidth
Before you start streaming, you can also adjust the bandwidth used to send data to Twitch.
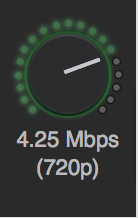
Move the dial clockwise to increase the Bit Rate, which will make the video appear sharper.
Press the button on the bottom right part of the Live Streaming section to show the Settings again.
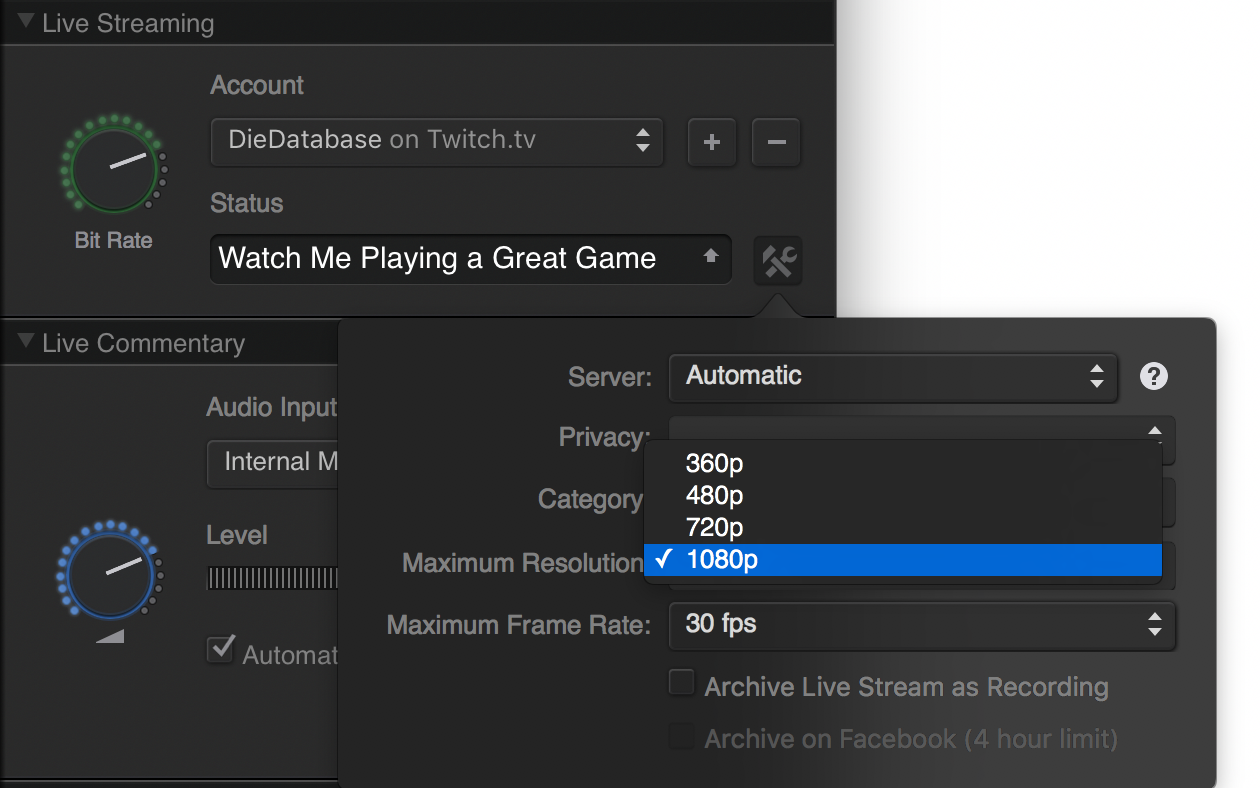
You have four choices for the Maximum Resolution:
360p
480p
720p
1080p
If you are using 720p or 1080p video, and you lower the Bit Rate a lot, Elgato Game Capture HD will switch the stream over to 480p. This is to maintain the highest visual quality for the chosen Bit Rate - HD video with a very low Bit Rate won't look that good.
You can also choose the Frame Rate:
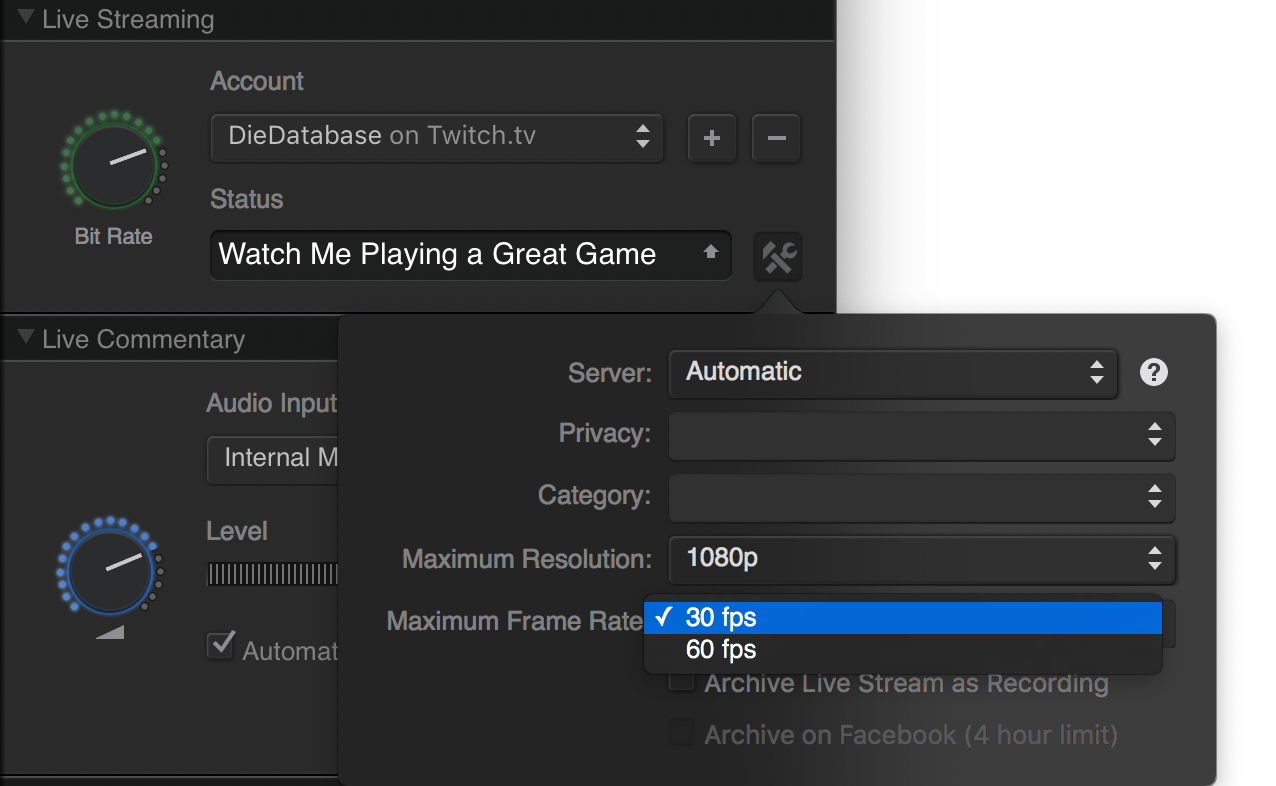
The frame rate can have one of two values:
30 fps
60 fps
Please Note - you cannot use a Bit Rate that is higher than your available Upload bandwidth. Your Upload speed is determined by your Internet Service Provider (ISP).
You may have a fast Download bandwidth, like 10Mbps, but your Upload bandwidth is likely to be much lower, like 1Mbps.
To find out your available Upload and Download bandwidth, please use a service like http://www.speedtest.net
Twitch - Archive Live Stream
In the Live Streaming Settings, you can choose to Archive Live Stream Via Recording. It will be saved in the Edit section of the Elgato Game Capture HD software.
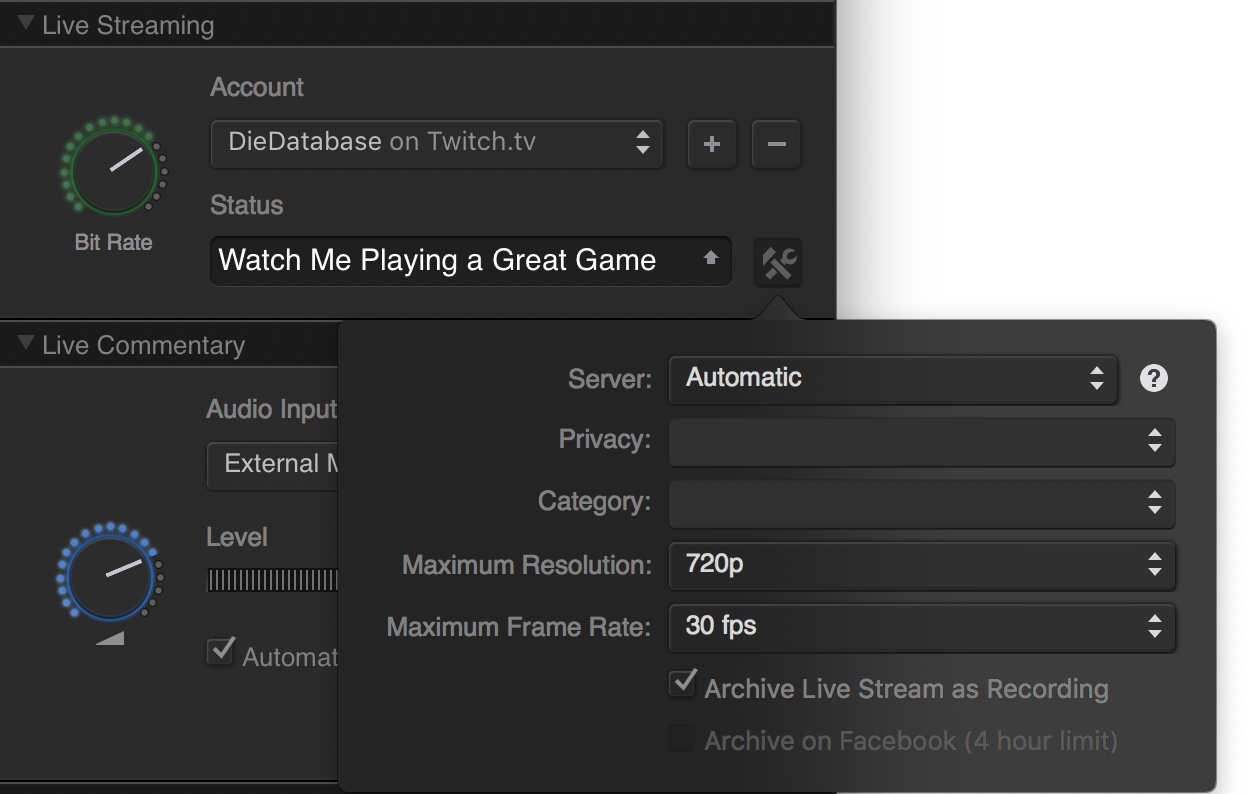
Twitch - Start Streaming
Once you have entered your Twitch account, and have selected a Server, then you can start Live Streaming.
Press the Stream button to Start and Stop streaming.
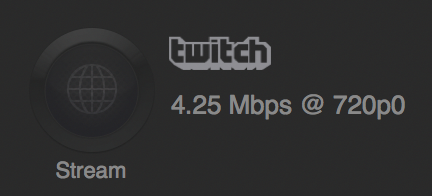
When you start Live Streaming, the Stream button will become bright green.
You can stream to services like:
Twitch
YouTube
Ustream
Restream.io
RTMP
This article will cover how to stream to Twitch.tv. Streaming to other services is identical, save for the initial login process.
For Facebook and YouTube, please see these articles:
Facebook Streaming and Elgato Game Capture HD
YouTube Live Streaming and Elgato Game Capture HD
The interface for Elgato Game Capture HD 2.5.2 for macOS is shown below, but the interface for Elgato Game Capture HD 3.5 for Windows is extremely similar.
Twitch - Sign up and Login
Elgato Game Capture HD now has a Live Streaming section. When you first start the software, Live Streaming is not yet setup.
To use Live Streaming, you will first have to create a new Twitch account, or enter your existing Twitch account. To start that process, press the "+" button next to the Account option.
Choose Twitch from the list of services.
A window will appear, allowing you to Log In to your Twitch account.
If you already have a Twitch account, then enter your Username and Password.
Afterwards, you will be given a chance to Authorize Game Capture HD to use your account. Press the purple Authorize button to continue.
If you do not already have a Twitch account, then press the Sign Up tab. You will then be able to select your Username and Password.
After signing up for a new Twitch account, you will be given a chance again to Authorize Game Capture HD to use your account. Press the purple Authorize button to continue.
Once you are logged in and authorized, your Twitch account will appear in the Live Streaming section of Elgato Game Capture HD.
Twitch - Server Selection
Once your Twitch account is entered into Elgato Game Capture HD, you will need to select a nearby server. Press the button on the bottom right part of the Live Streaming section to show the Settings.
You should pick a server that has the lowest network latency possible. The latency numbers will change every so often. Usually, the server with the lowest latency is closest to you geographically, but not always.
In this example, San Francisco is the current location, and it has the lowest latency. However, if another server has a lower latency for your area, you should choose it.
Twitch - Stream Bit Rate and Available Bandwidth
Before you start streaming, you can also adjust the bandwidth used to send data to Twitch.
The Live Streaming section has a Bit Rate dial.
Move the dial clockwise to increase the Bit Rate, which will make the video appear sharper.
Press the button on the bottom right part of the Live Streaming section to show the Settings again.
You have four choices for the Maximum Resolution:
360p
480p
720p
1080p
If you are using 720p or 1080p video, and you lower the Bit Rate a lot, Elgato Game Capture HD will switch the stream over to 480p. This is to maintain the highest visual quality for the chosen Bit Rate - HD video with a very low Bit Rate won't look that good.
You can also choose the Frame Rate:
The frame rate can have one of two values:
30 fps
60 fps
Please Note - you cannot use a Bit Rate that is higher than your available Upload bandwidth. Your Upload speed is determined by your Internet Service Provider (ISP).
You may have a fast Download bandwidth, like 10Mbps, but your Upload bandwidth is likely to be much lower, like 1Mbps.
To find out your available Upload and Download bandwidth, please use a service like http://www.speedtest.net
Twitch - Archive Live Stream
In the Live Streaming Settings, you can choose to Archive Live Stream Via Recording. It will be saved in the Edit section of the Elgato Game Capture HD software.
Twitch - Start Streaming
Once you have entered your Twitch account, and have selected a Server, then you can start Live Streaming.
Press the Stream button to Start and Stop streaming.
When you start Live Streaming, the Stream button will become bright green.
Press Start Streaming, and your Live Gameplay will immediately start at the Twitch website.
To go to your Twitch stream, click on the Twitch logo next to the Stream button. Your custom Twitch page will open up in your default browser.
To go to your Twitch stream, click on the Twitch logo next to the Stream button. Your custom Twitch page will open up in your default browser.