Elgato Stream Deck is easy to setup and use.
This article goes over the Actions that are available for use with XSplit.
XSplit - Install Correct Software Version
To get started, make sure you are using Elgato Stream Deck 1.3 or later.
Then, simply download the latest XSplit 3.1 PTR via:
https://www.xsplit.com/blog/xsplit-broadcaster-ptr
An Elgato Stream Deck extension is automatically added with this update.
And that's it! Your XSplit configuration is now available in the Elgato Stream Deck app.
XSplit - Select Account
You can log into your XSplit account(s) via the XSplit application itself.
XSplit - Scene
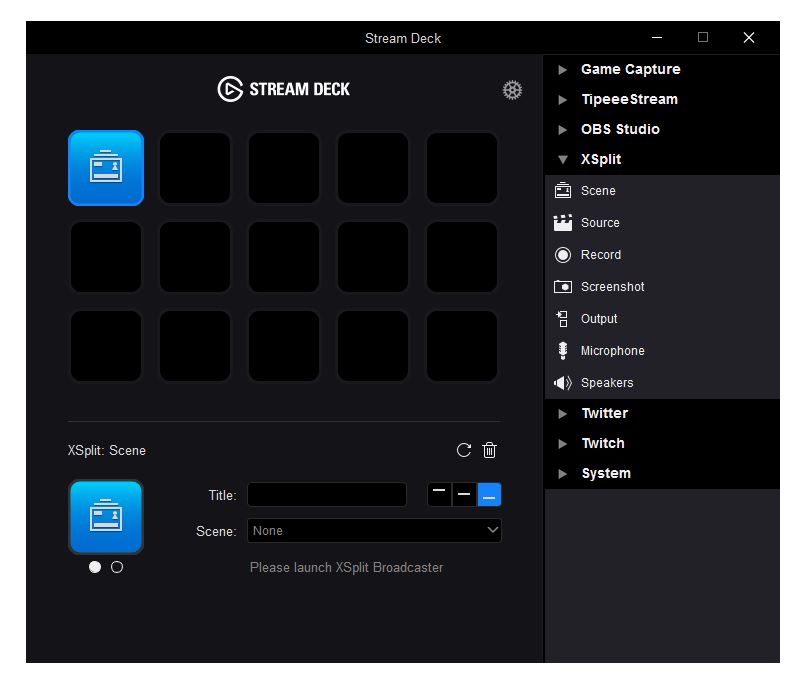
Scene lets you choose from one of your scenes in XSplit.
Once you choose that Scene, it will be immediately activated.
XSplit - Source
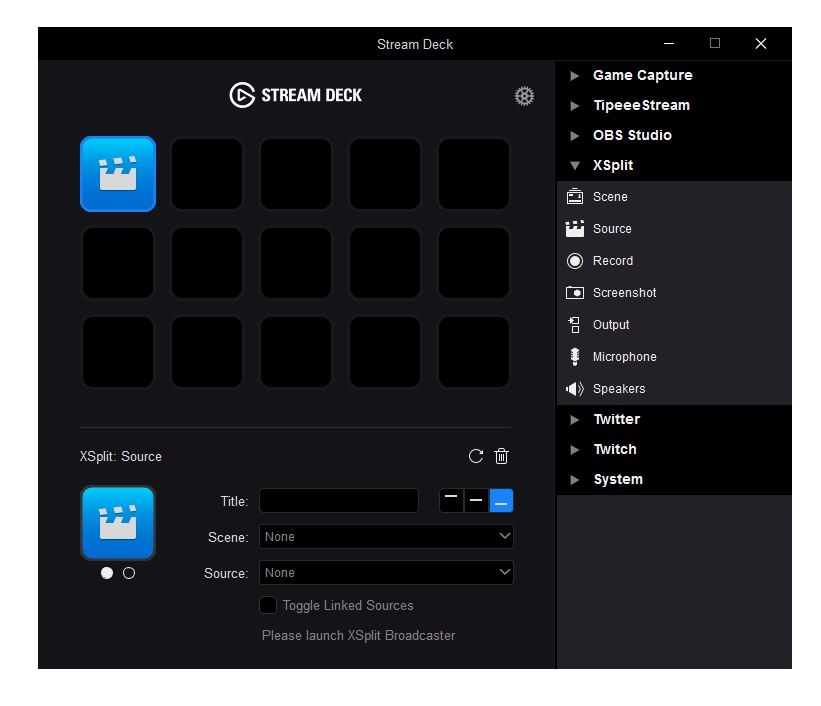
Source lets you Show and Hide a Media Source in XSplit.
If you have a Media Source that's active, then this Action will immediately Hide it.
If you have a Media Source that's not active, then this Action will immediately Show it.
A unique feature to XSplit is that by starting a Media Source, such as a webm or gif, and letting it play through and finish, the file will then be ready again for playback at the press of a button.
While playback is active, pressing the same button will stop the playback, and ready the Media Source again.
Toggle Linked Sources Checkbox:
When you copy and paste Media Sources from one Scene to another, they can be linked.
If the Toggle Linked Sources Checkbox is selected when deactivating a Media Source, it deactivates all other linked sources as well, sort of like a global source control.
XSplit - Record
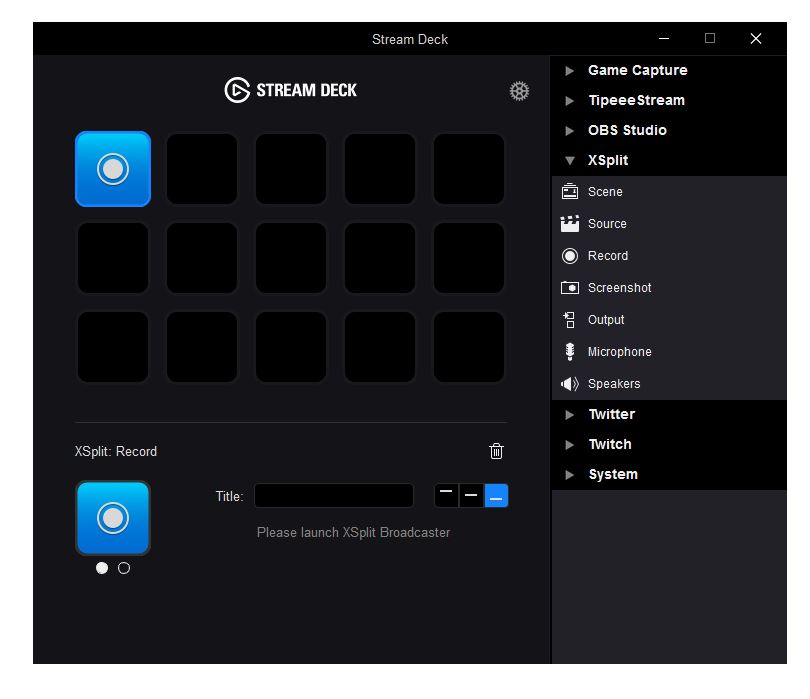
Record lets you Start Recording and Stop Recording in XSplit.
If you have a recording that's active, then this Action will immediately Stop Recording.
If you have not yet started to record, then this Action will immediately Start Recording.
XSplit - Screenshot
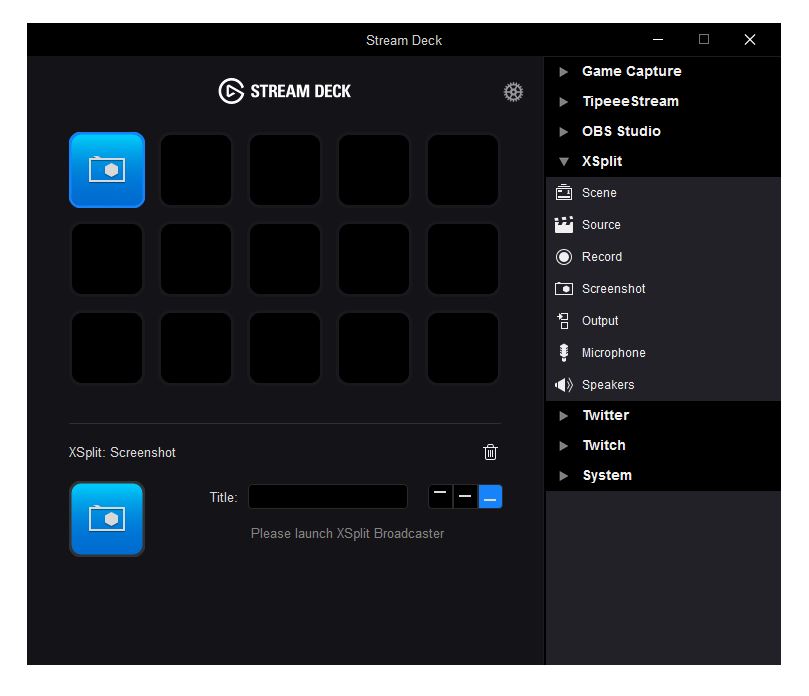
Screenshot lets you immediately capture what's on the screen in XSplit as a still image.
That image will be saved in whatever location you have chosen to store Screenshots, in XSplit's Preferences.
XSplit - Output
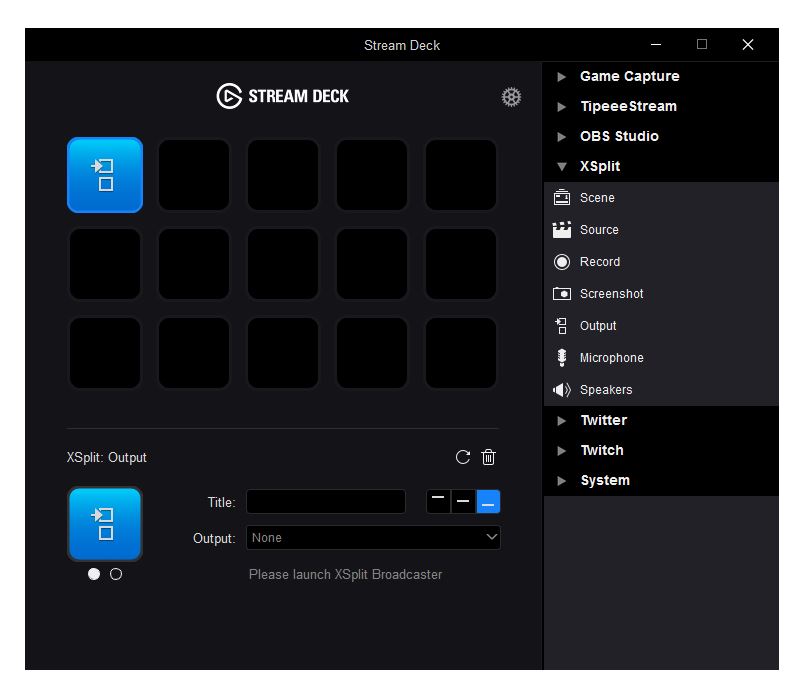
Output lets you start and stop the stream to an output in XSplit.
An Output could be to a service like Twitch or YouTube.
If you have an Output that's active, then this Action will immediately Stop that Output.
If you have an Output that's inactive, then this Action will immediately Start that Output.
XSplit - Microphone
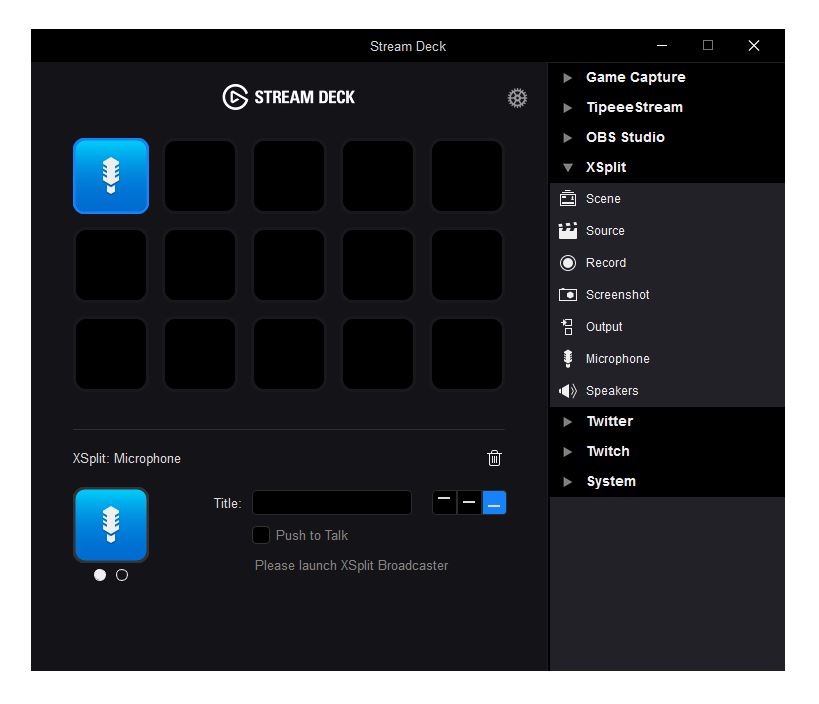
Microphone lets you Mute and Unmute your microphone in XSplit.
If you have a microphone that's active, then this Action will immediately Mute it.
If you have a microphone that's muted, then this Action will immediately Unmute it.
XSplit - Speakers
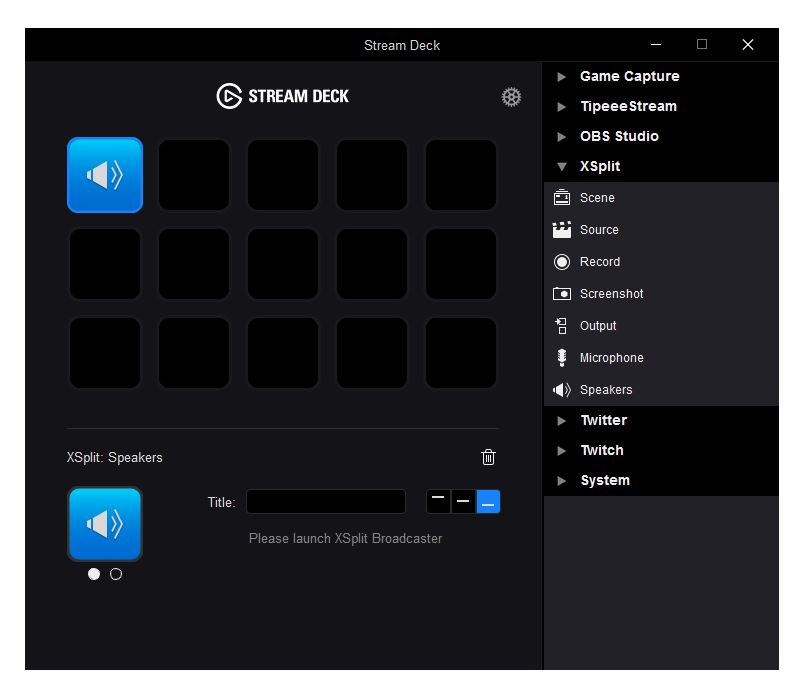
Speakers lets you Mute and Unmute your Desktop/Game audio in XSplit.
If your Desktop/Game audio is active, then this Action will immediately Mute it.
If your Desktop/Game audio is muted, then this Action will immediately Unmute it.
This article goes over the Actions that are available for use with XSplit.
XSplit - Install Correct Software Version
To get started, make sure you are using Elgato Stream Deck 1.3 or later.
Then, simply download the latest XSplit 3.1 PTR via:
https://www.xsplit.com/blog/xsplit-broadcaster-ptr
An Elgato Stream Deck extension is automatically added with this update.
And that's it! Your XSplit configuration is now available in the Elgato Stream Deck app.
XSplit - Select Account
You can log into your XSplit account(s) via the XSplit application itself.
XSplit - Scene
Scene lets you choose from one of your scenes in XSplit.
Once you choose that Scene, it will be immediately activated.
XSplit - Source
Source lets you Show and Hide a Media Source in XSplit.
If you have a Media Source that's active, then this Action will immediately Hide it.
If you have a Media Source that's not active, then this Action will immediately Show it.
A unique feature to XSplit is that by starting a Media Source, such as a webm or gif, and letting it play through and finish, the file will then be ready again for playback at the press of a button.
While playback is active, pressing the same button will stop the playback, and ready the Media Source again.
Toggle Linked Sources Checkbox:
When you copy and paste Media Sources from one Scene to another, they can be linked.
If the Toggle Linked Sources Checkbox is selected when deactivating a Media Source, it deactivates all other linked sources as well, sort of like a global source control.
XSplit - Record
Record lets you Start Recording and Stop Recording in XSplit.
If you have a recording that's active, then this Action will immediately Stop Recording.
If you have not yet started to record, then this Action will immediately Start Recording.
XSplit - Screenshot
Screenshot lets you immediately capture what's on the screen in XSplit as a still image.
That image will be saved in whatever location you have chosen to store Screenshots, in XSplit's Preferences.
XSplit - Output
Output lets you start and stop the stream to an output in XSplit.
An Output could be to a service like Twitch or YouTube.
If you have an Output that's active, then this Action will immediately Stop that Output.
If you have an Output that's inactive, then this Action will immediately Start that Output.
XSplit - Microphone
Microphone lets you Mute and Unmute your microphone in XSplit.
If you have a microphone that's active, then this Action will immediately Mute it.
If you have a microphone that's muted, then this Action will immediately Unmute it.
XSplit - Speakers
Speakers lets you Mute and Unmute your Desktop/Game audio in XSplit.
If your Desktop/Game audio is active, then this Action will immediately Mute it.
If your Desktop/Game audio is muted, then this Action will immediately Unmute it.