4K Capture Utility version 1.5 handles recordings in a different way. For each recording, there is a new folder structure, and also .aaf project files.
Adobe Premiere does not support dragging and dropping or automatically importing .aaf project files.
To add an .aaf project file to Adobe Premiere, follow these steps:
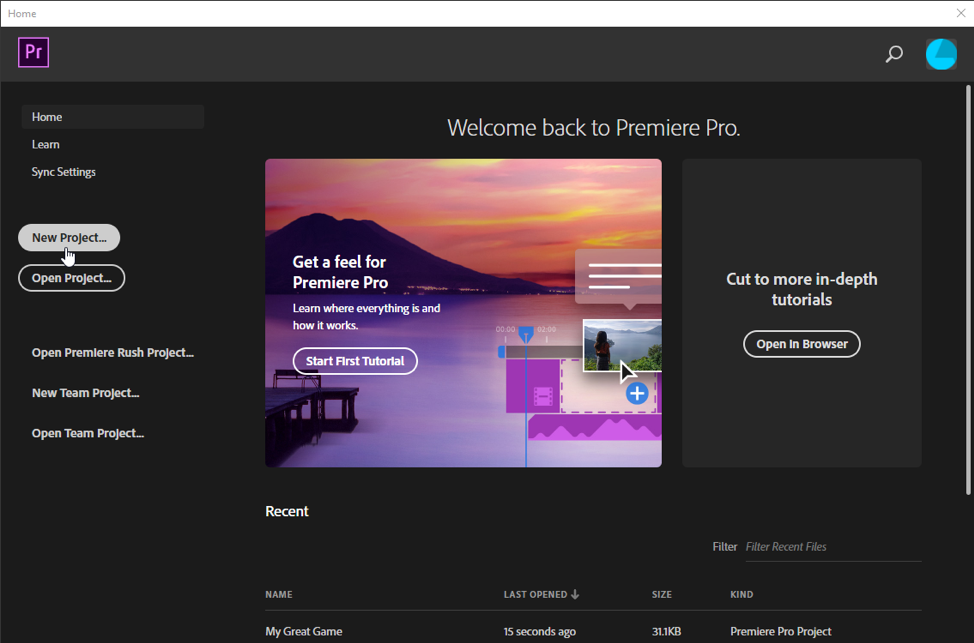
1) Open Adobe Premiere.
2) Create a new project.
3) Give this project a name and change any project settings as needed.
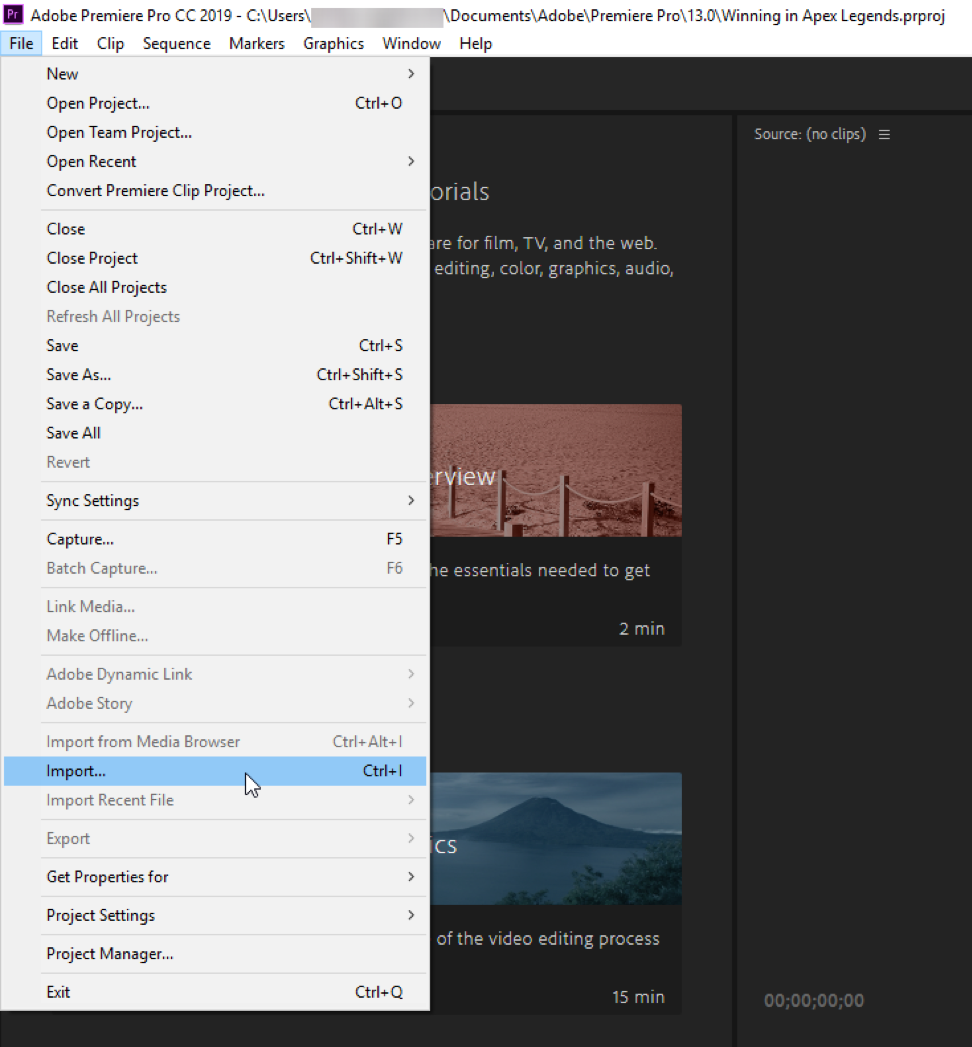
4) In the main window view, select "File" from the task bar and click on "Import".
5) In the file browser window that opens, navigate to the 4K Capture Utility library, and then to the folder with the recording and project file in it.
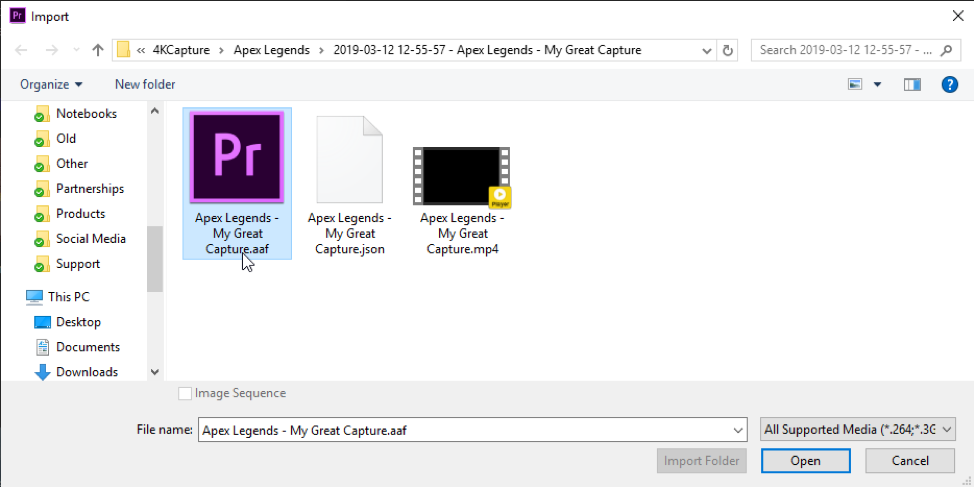
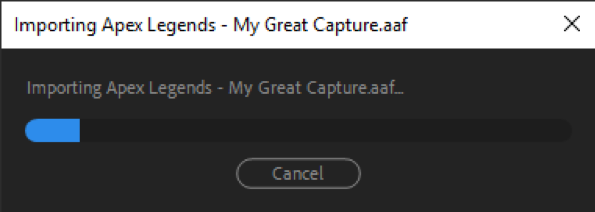
6) Double click on the .aaf project file. Adobe Premiere will begin importing the project and associated video file.
7) Once the import is done, the video files will be available in the project bin. Drag the videos from the bin onto the timeline to begin editing the video.
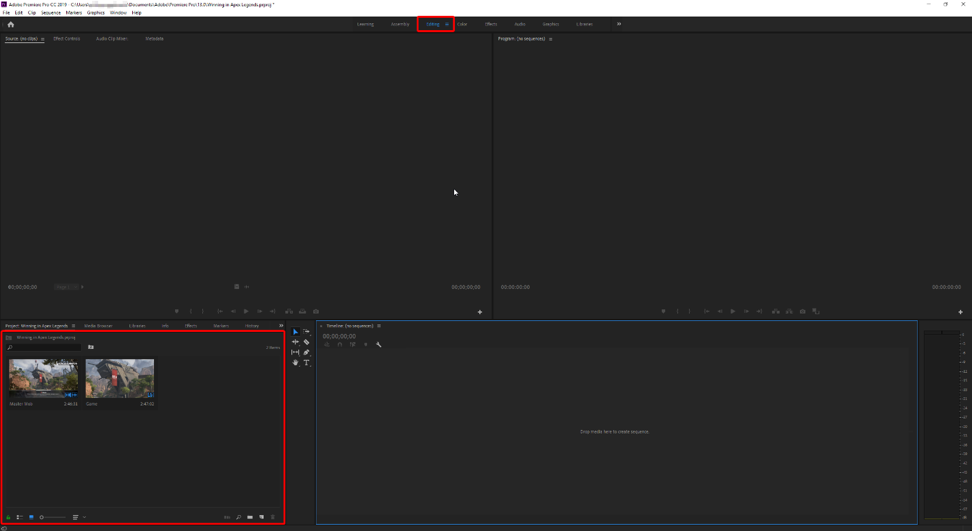
Adobe Premiere does not support dragging and dropping or automatically importing .aaf project files.
To add an .aaf project file to Adobe Premiere, follow these steps:
1) Open Adobe Premiere.
2) Create a new project.
3) Give this project a name and change any project settings as needed.
4) In the main window view, select "File" from the task bar and click on "Import".
5) In the file browser window that opens, navigate to the 4K Capture Utility library, and then to the folder with the recording and project file in it.
6) Double click on the .aaf project file. Adobe Premiere will begin importing the project and associated video file.
7) Once the import is done, the video files will be available in the project bin. Drag the videos from the bin onto the timeline to begin editing the video.